This week we focused on Halloween and pumpkins. It was a really easy one to plan for and I only needed to check out a few books because our home library has MANY holiday books.
This is what my Tot School shelves looked like for the week:

Some of my personal favorite Halloween books are:
- Room on the Broom
- Little Blue Truck’s Halloween
- If Your Spooky and You Know It
- There Was an Old Lady who Swallowed a Bat
- Spooky Pookie
Now I will break it down for you into what I placed in the four tubs this week!
Red: Fine Motor Sorting
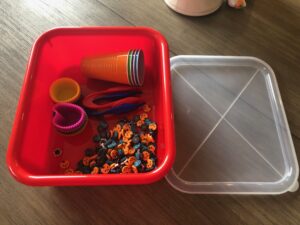
Last year I purchased a bunch of little Halloween erasers from the Dollar Spot at Target. At that time we just work on sorting them by picture. This year, we used the same materials, but added on fine motor practice. My daughter had to use her tweezers to sort and/or pile up the little erasers. As a teacher, I hated this erasers because they work terribly. However, they are great small toys for toddler activities. I look forward to using them next year for patterns and simple math activities. And the best part, you get like 60 of them for $1!
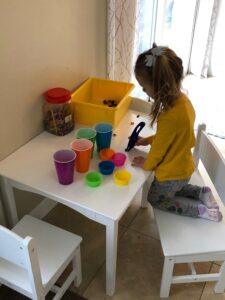
Yellow: Sensory with Play Dough
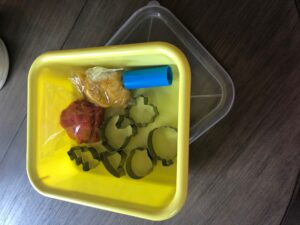
As you may have seen in a previous blog, I enjoy making my own play dough. I love the texture, smell, and colors I am able to create when I make my own. In this tub I simply place a few colors of play dough, some fall cookie cutters, a rolling pin, and a play dough knife. Super simple but something that my daughter could play with independently and clean up on her own!
Green: Build a Jack-o-Lantern
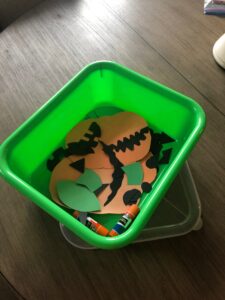
This was her favorite tub of the week and honestly a last minute idea. She is always begging to use glue, so I decide to create a tub around that. I used orange construction paper and cut out a bunch of pumpkin shaped pieces. By layering the paper and folding it in half, I was able to make 6 pumpkins at a time. Then, I used black paper to cut out circles, triangles, and squares for eyes and noses. I also used the black paper to cut out a variety of mouths. The last color I used was green to make stems and leaves.
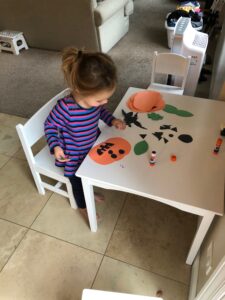
I placed all these pieces in the tub along with 2 glue sticks. I did work with her to create the first pumpkin. We talked about what all of the pieces could be and where they would go. After that, she made TONS of pumpkins independently. I actually ended up adding to this tub later in the week because she was begging to make more. She was so proud of her creations that our whole fridge is now covered in pumpkins!
Blue: Do-A-Dot Art
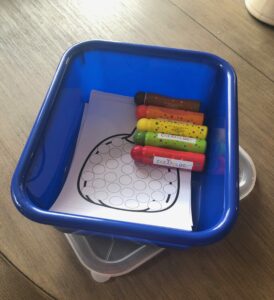
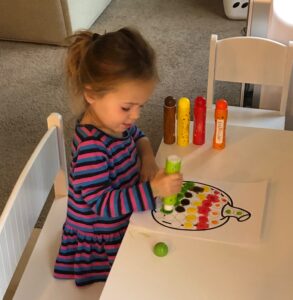
Another simple and independent one here! I googled free printable fall dot art and printed out about 10 pictures. I placed these pictures, which I copied on card stock, into the tub along with 5 fall colored dot markers. Limiting the number of colors prevents it from being too overwhelming. I also reviewed how to properly use the markers along with the importance of putting the caps back on well before returning the tub to the shelf.
Bonus Activity: Pumpkin Hammering
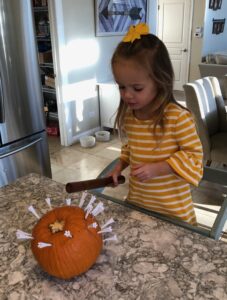
Reagan loves using any of the tools that she sees either my husband or myself using around the house. So getting to use a wooden hammer and dad’s golf tees was very intriguing. I helped her the first time to start some small holes, but then she was happy to pound away on her own!
And that is it! We absolutely did other fun activities like painting and carving pumpkins, visiting a pumpkin patch, and cooking delicious pumpkin flavored treat together. Yet, I am not going to focus on all of them in these weekly blogs or it would get way too lengthy!
So…..please let me know what you think of this new format! Is it something that you find helpful, or not really your style? Would you consider setting up an area such as this in your house?